$1 Trillion+ in volume processed
Dual Boot Windows 11 And Android
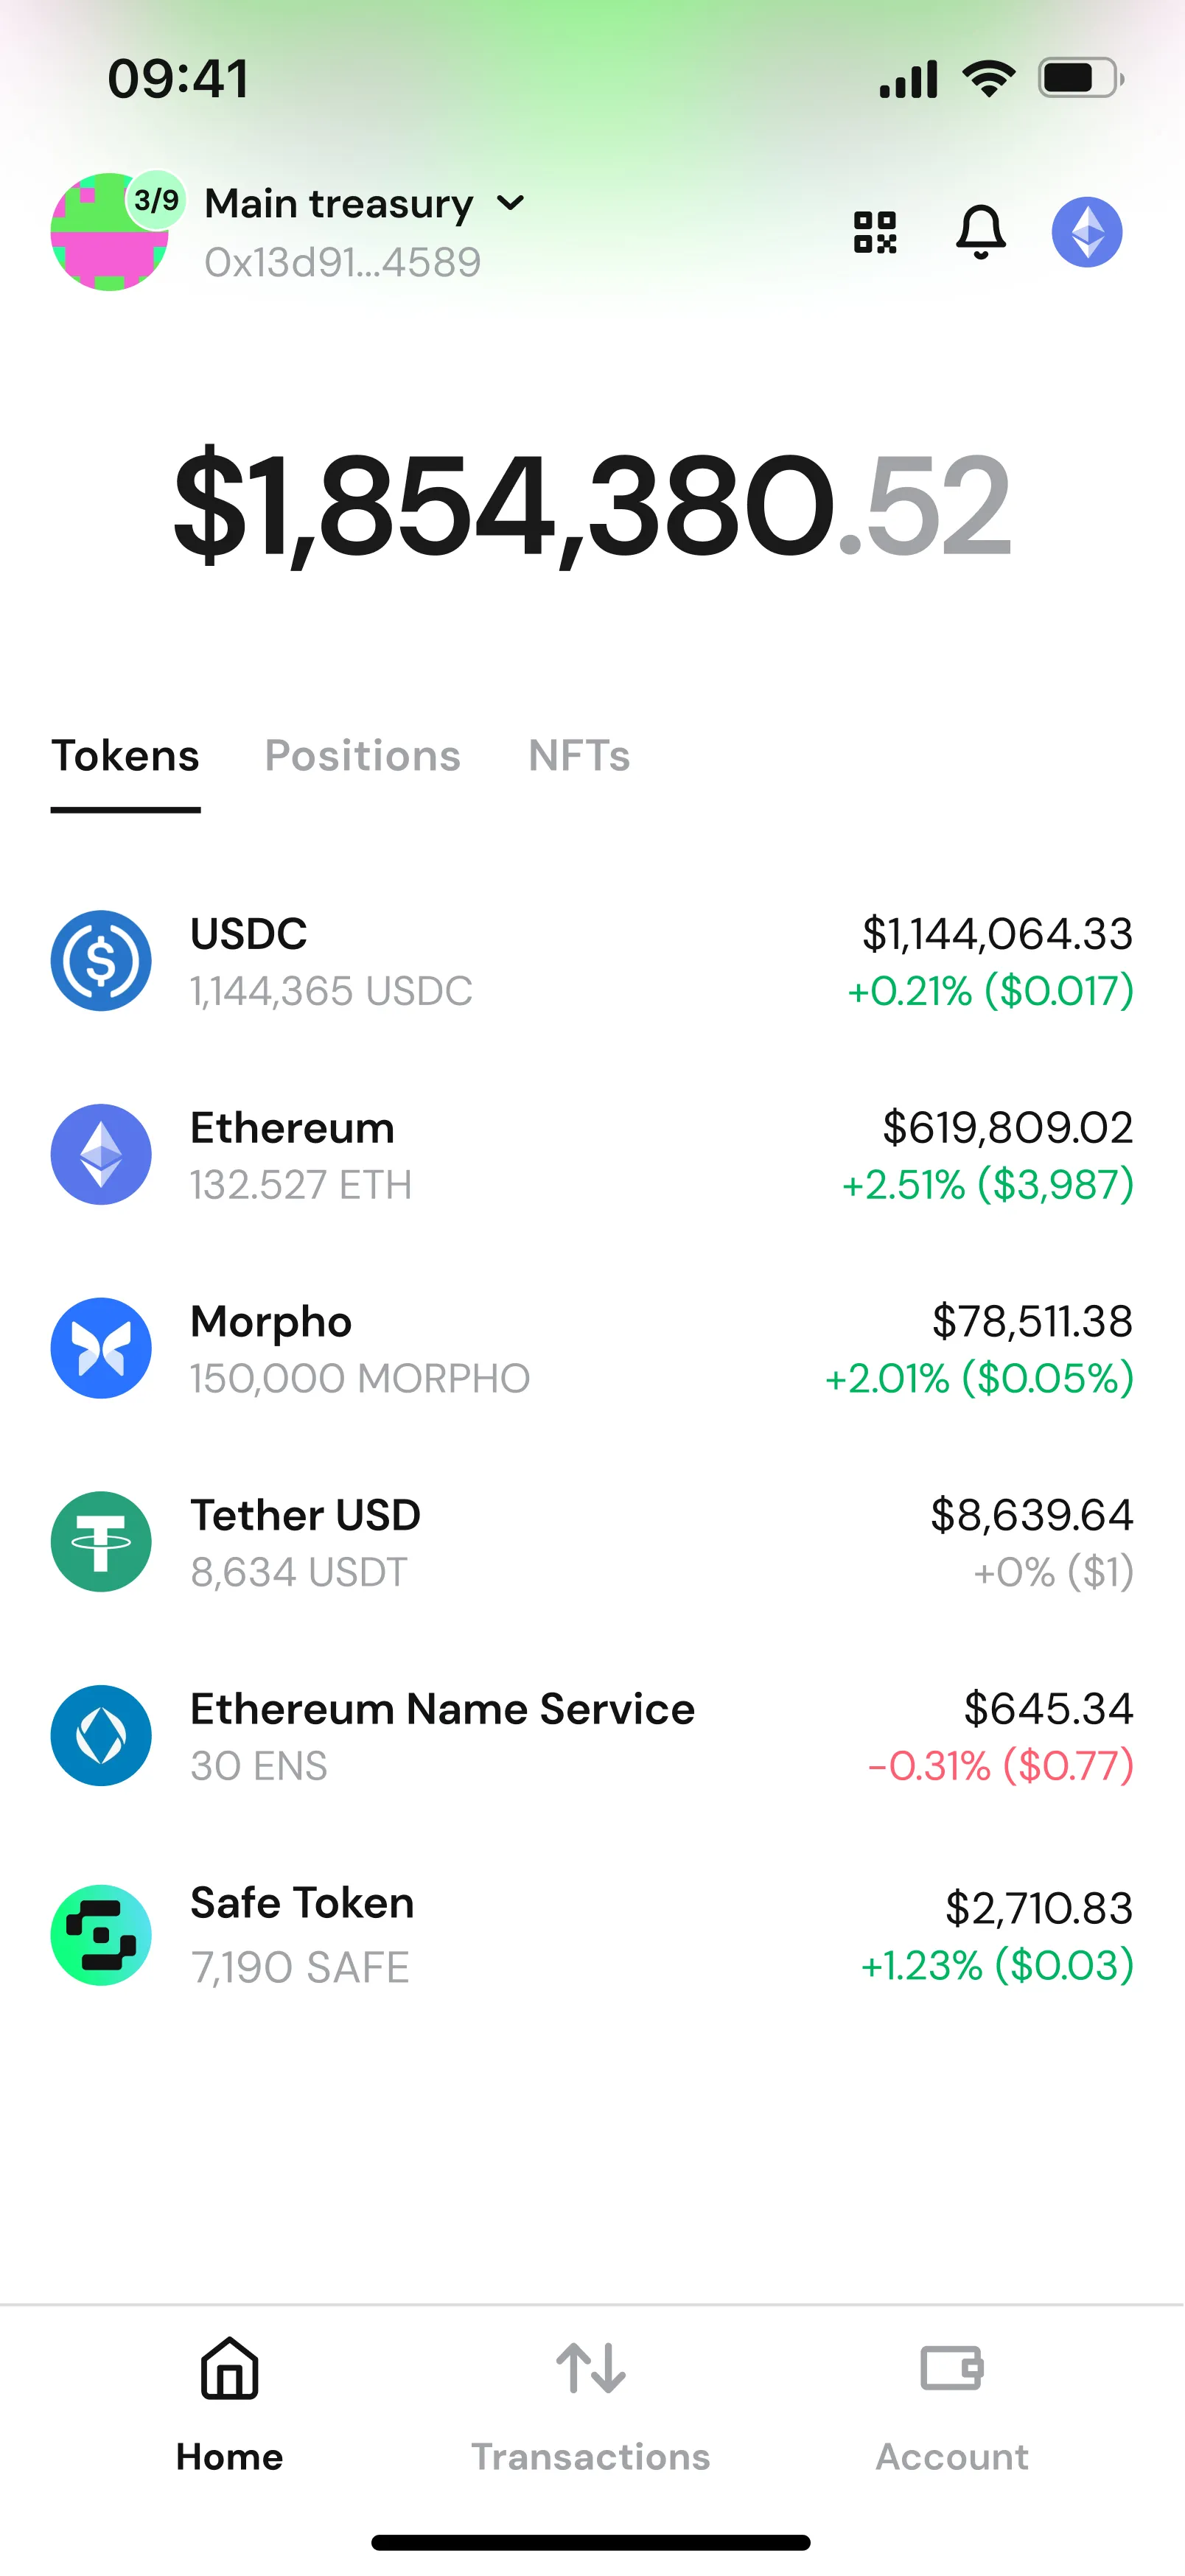
The most trusted smart wallet infrastructure. Modular, programmable and battle-tested.


Eliminate single point of failure. Distribute access control across multiple owners


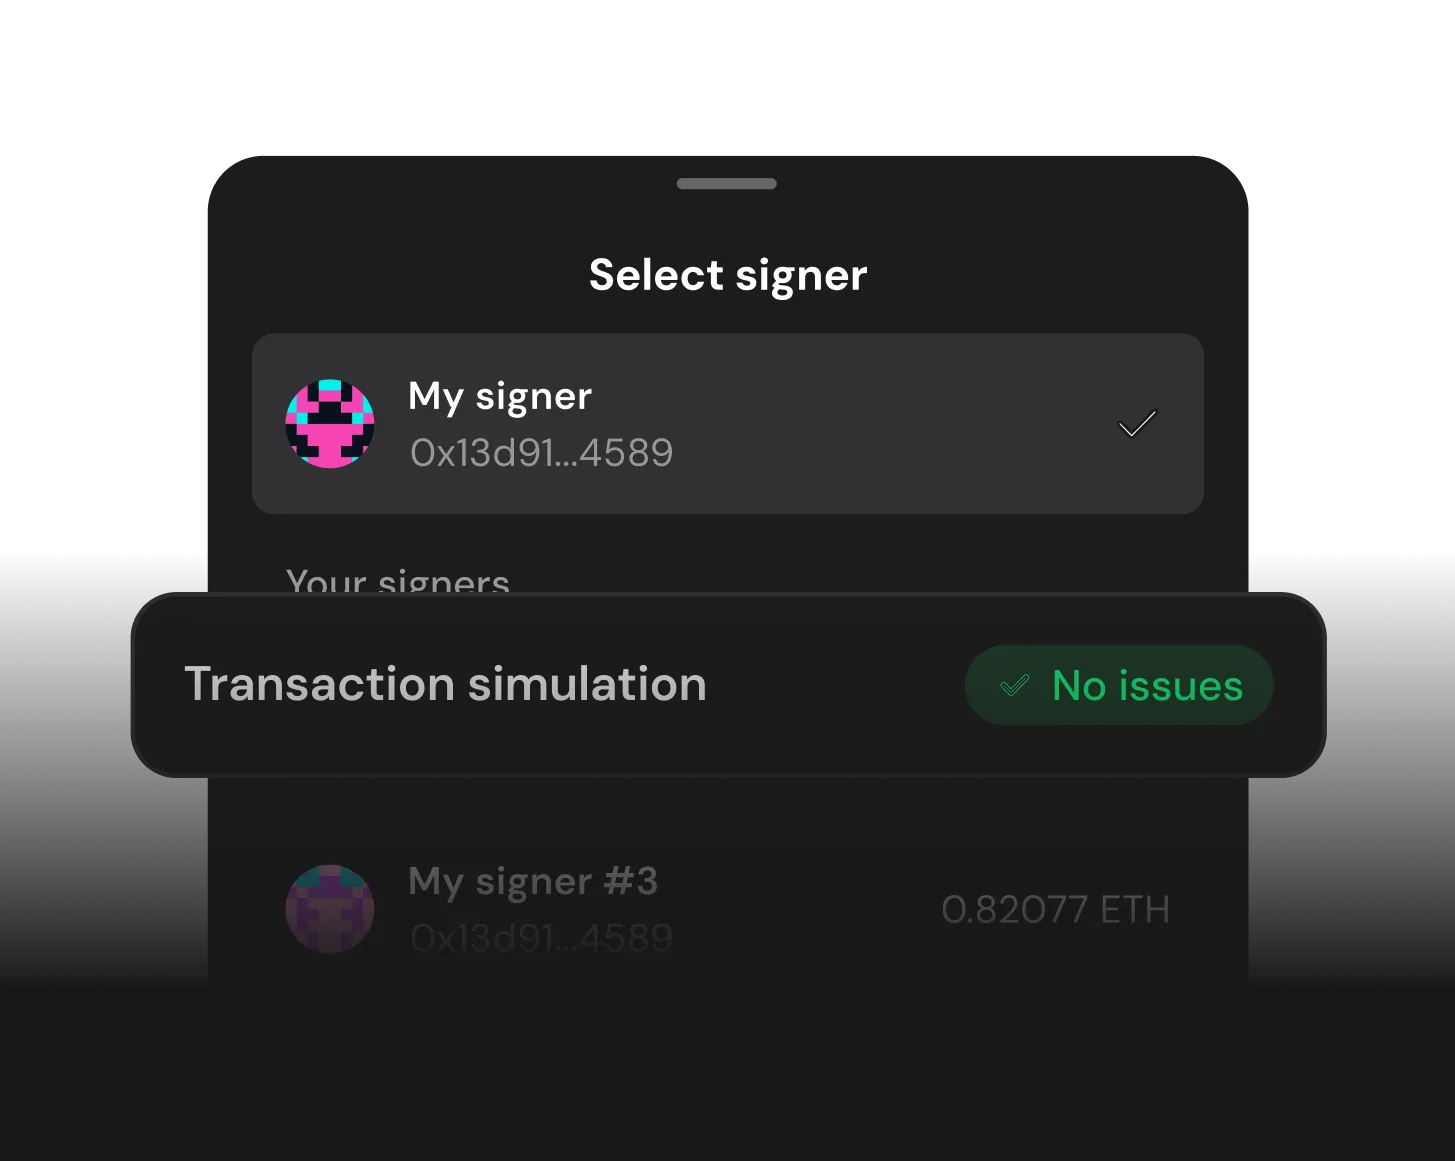
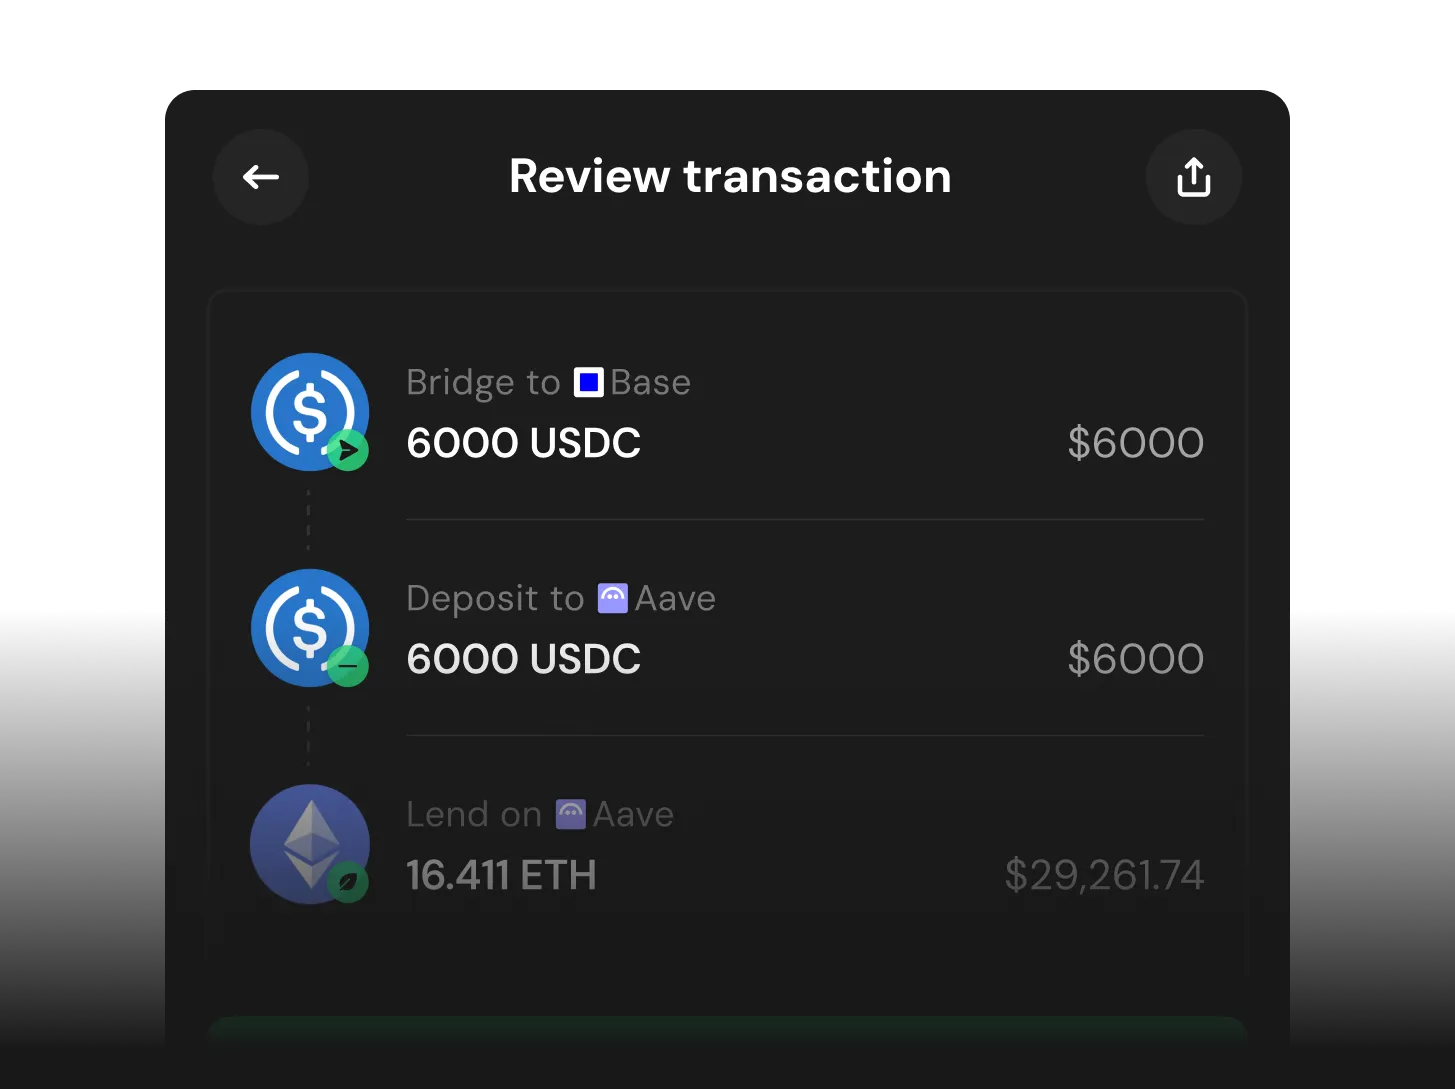
Scan risks and simulate transactions before they execute

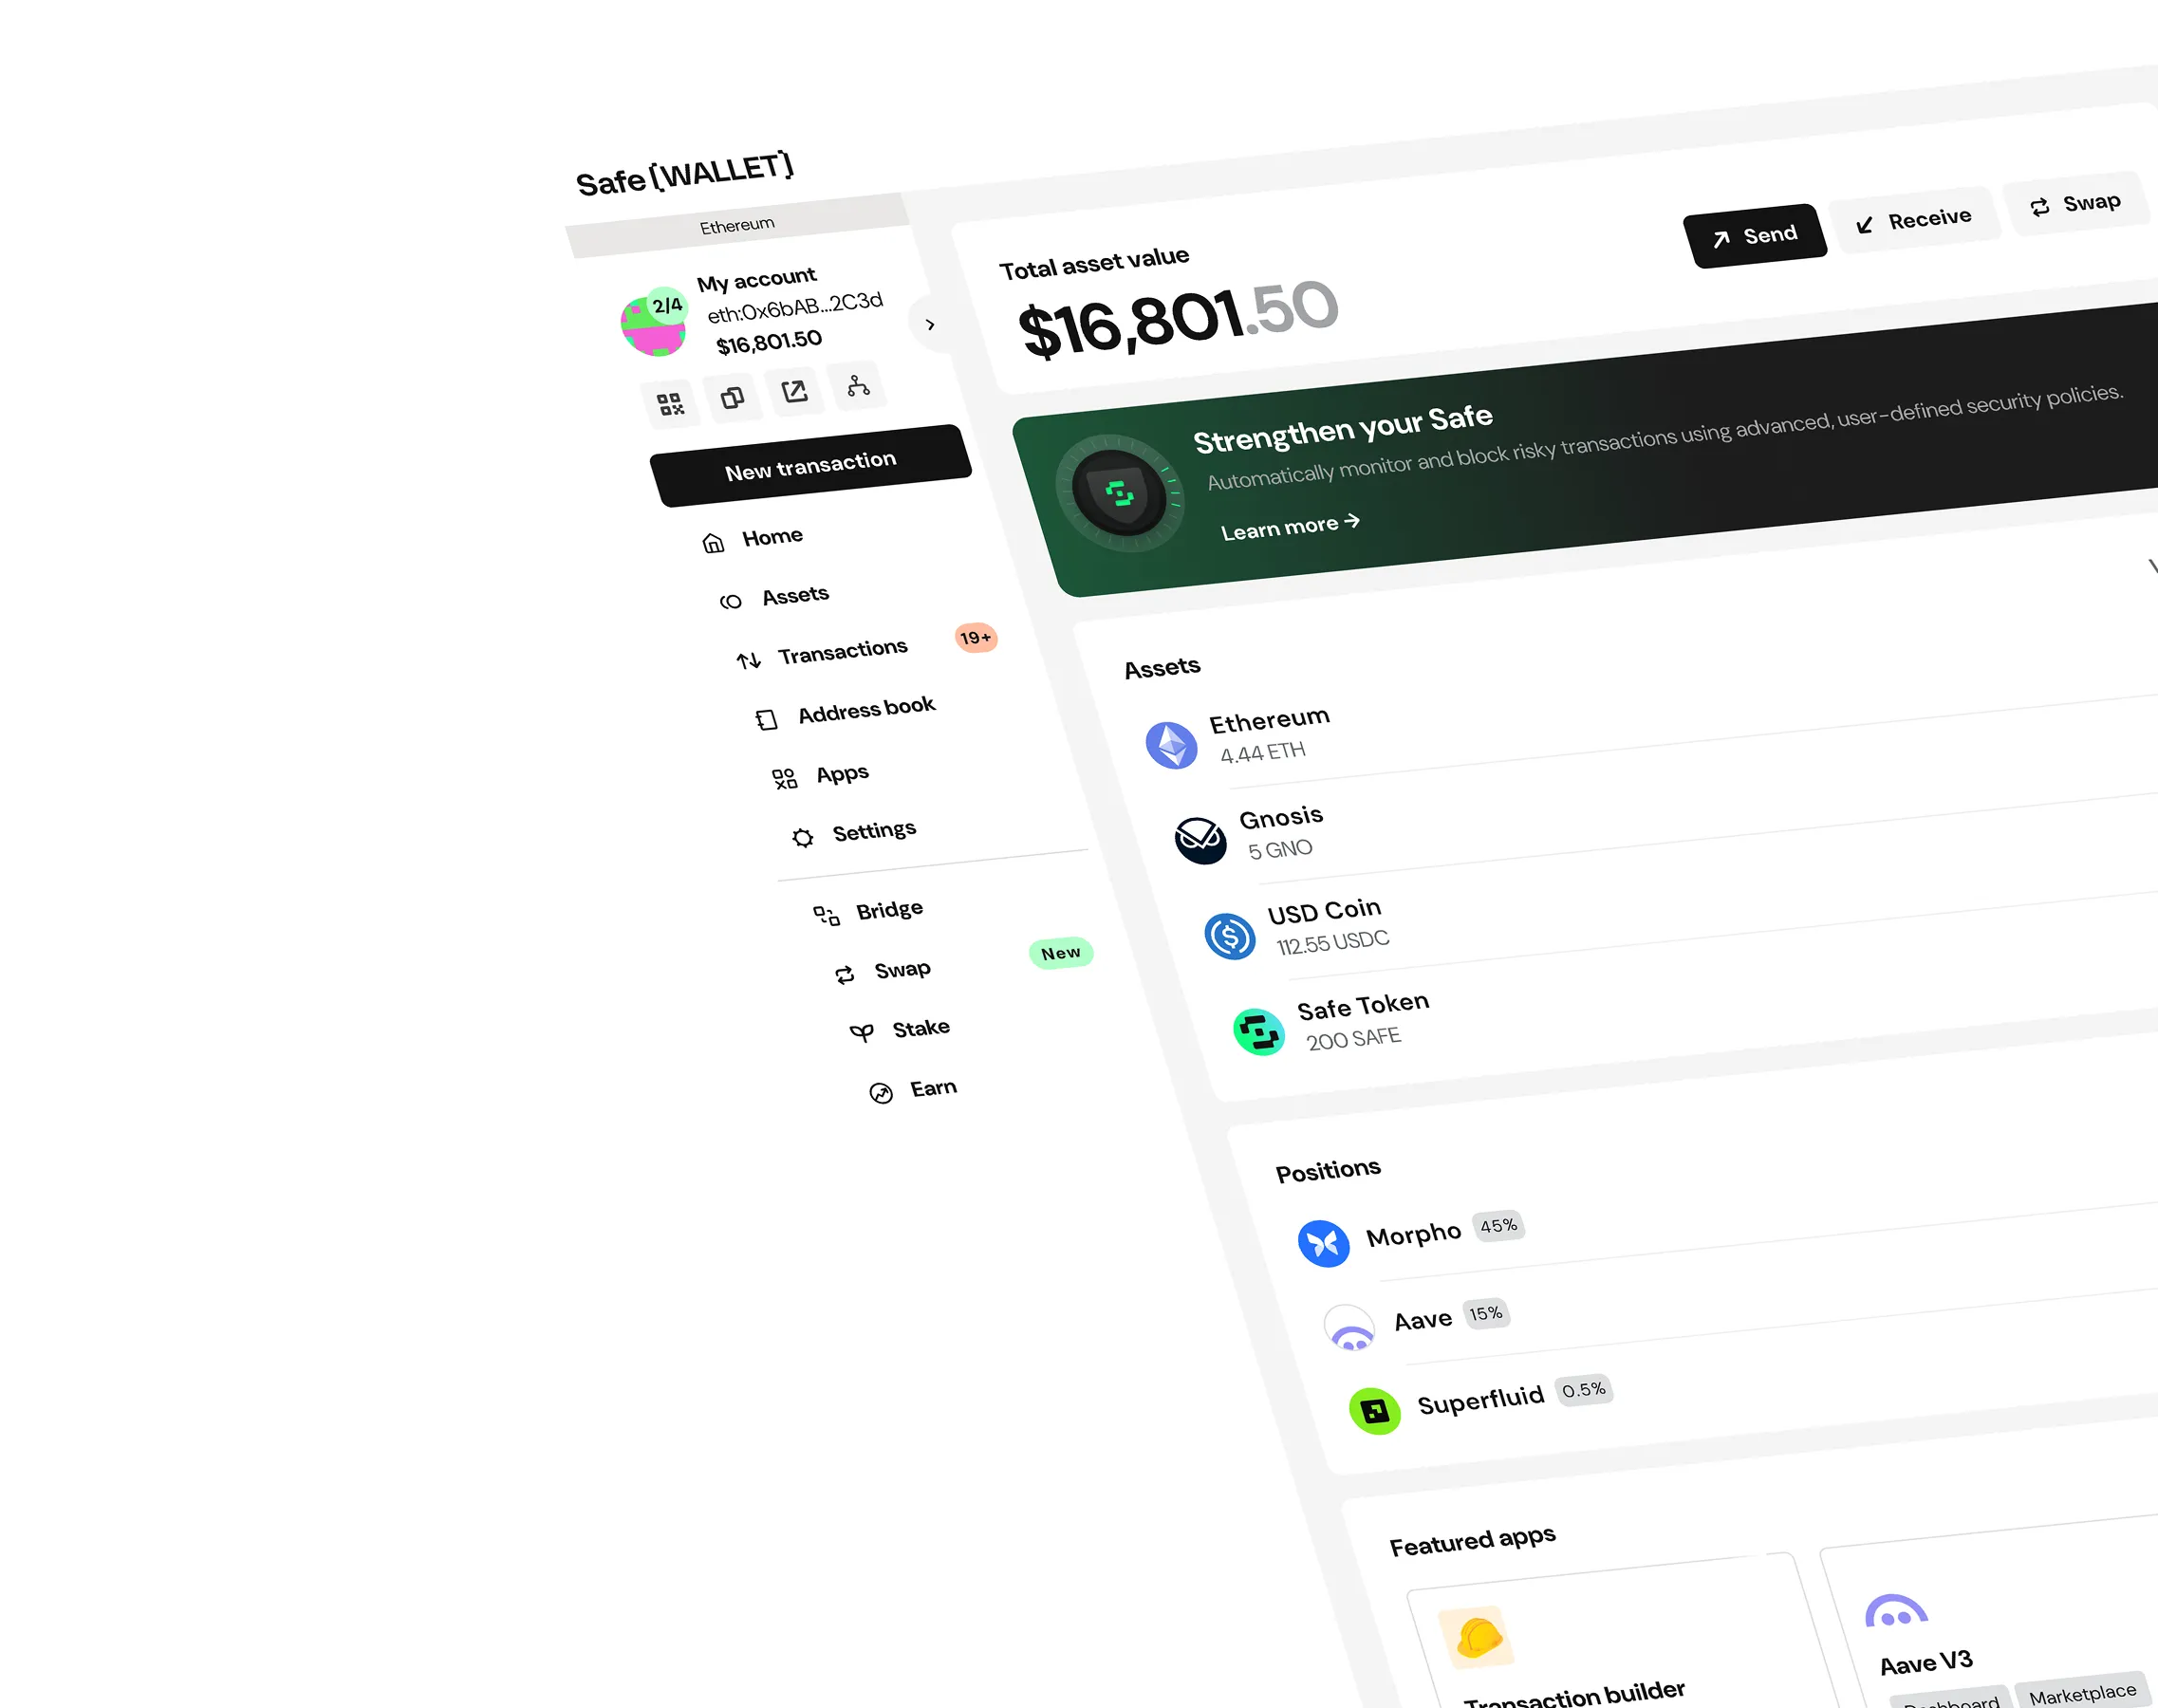
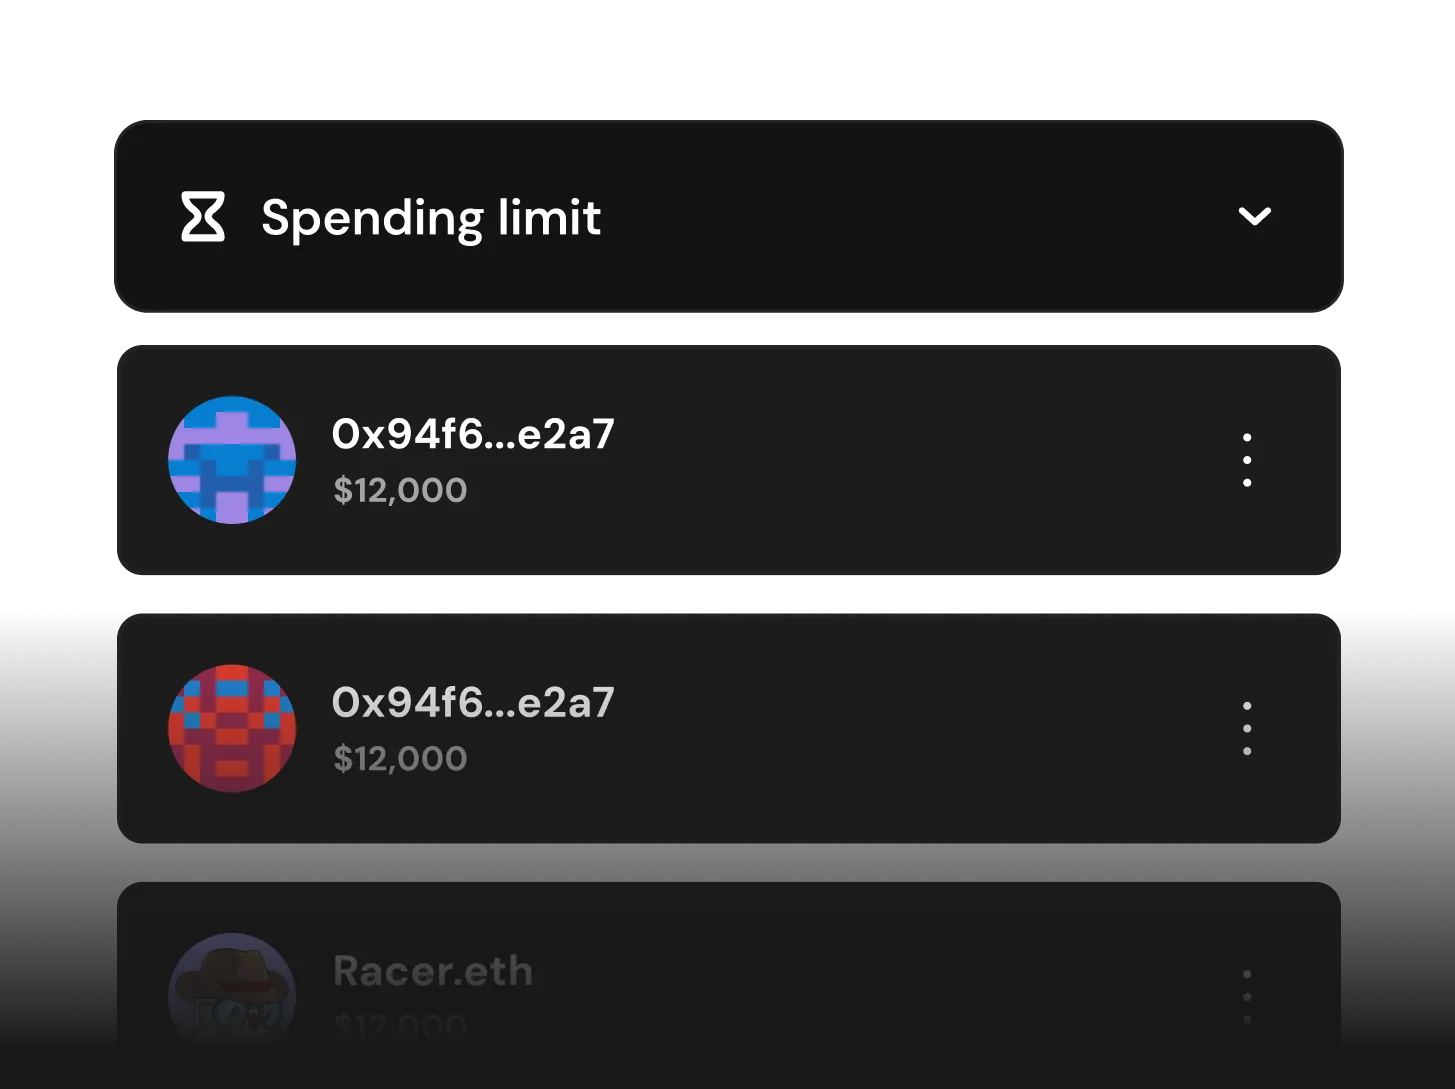
Set daily spending limits, approval thresholds and role-based access
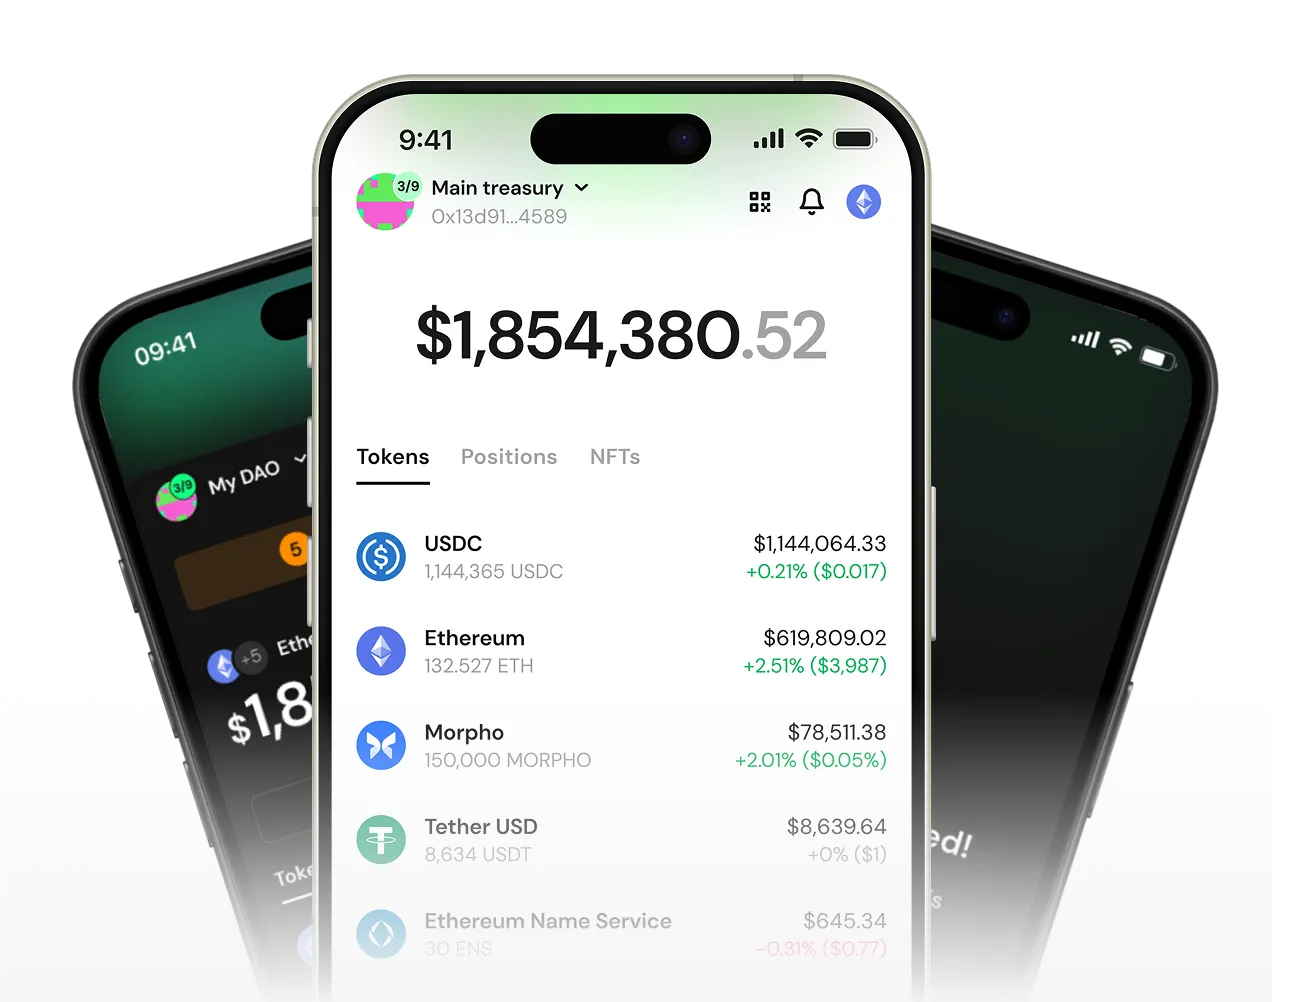
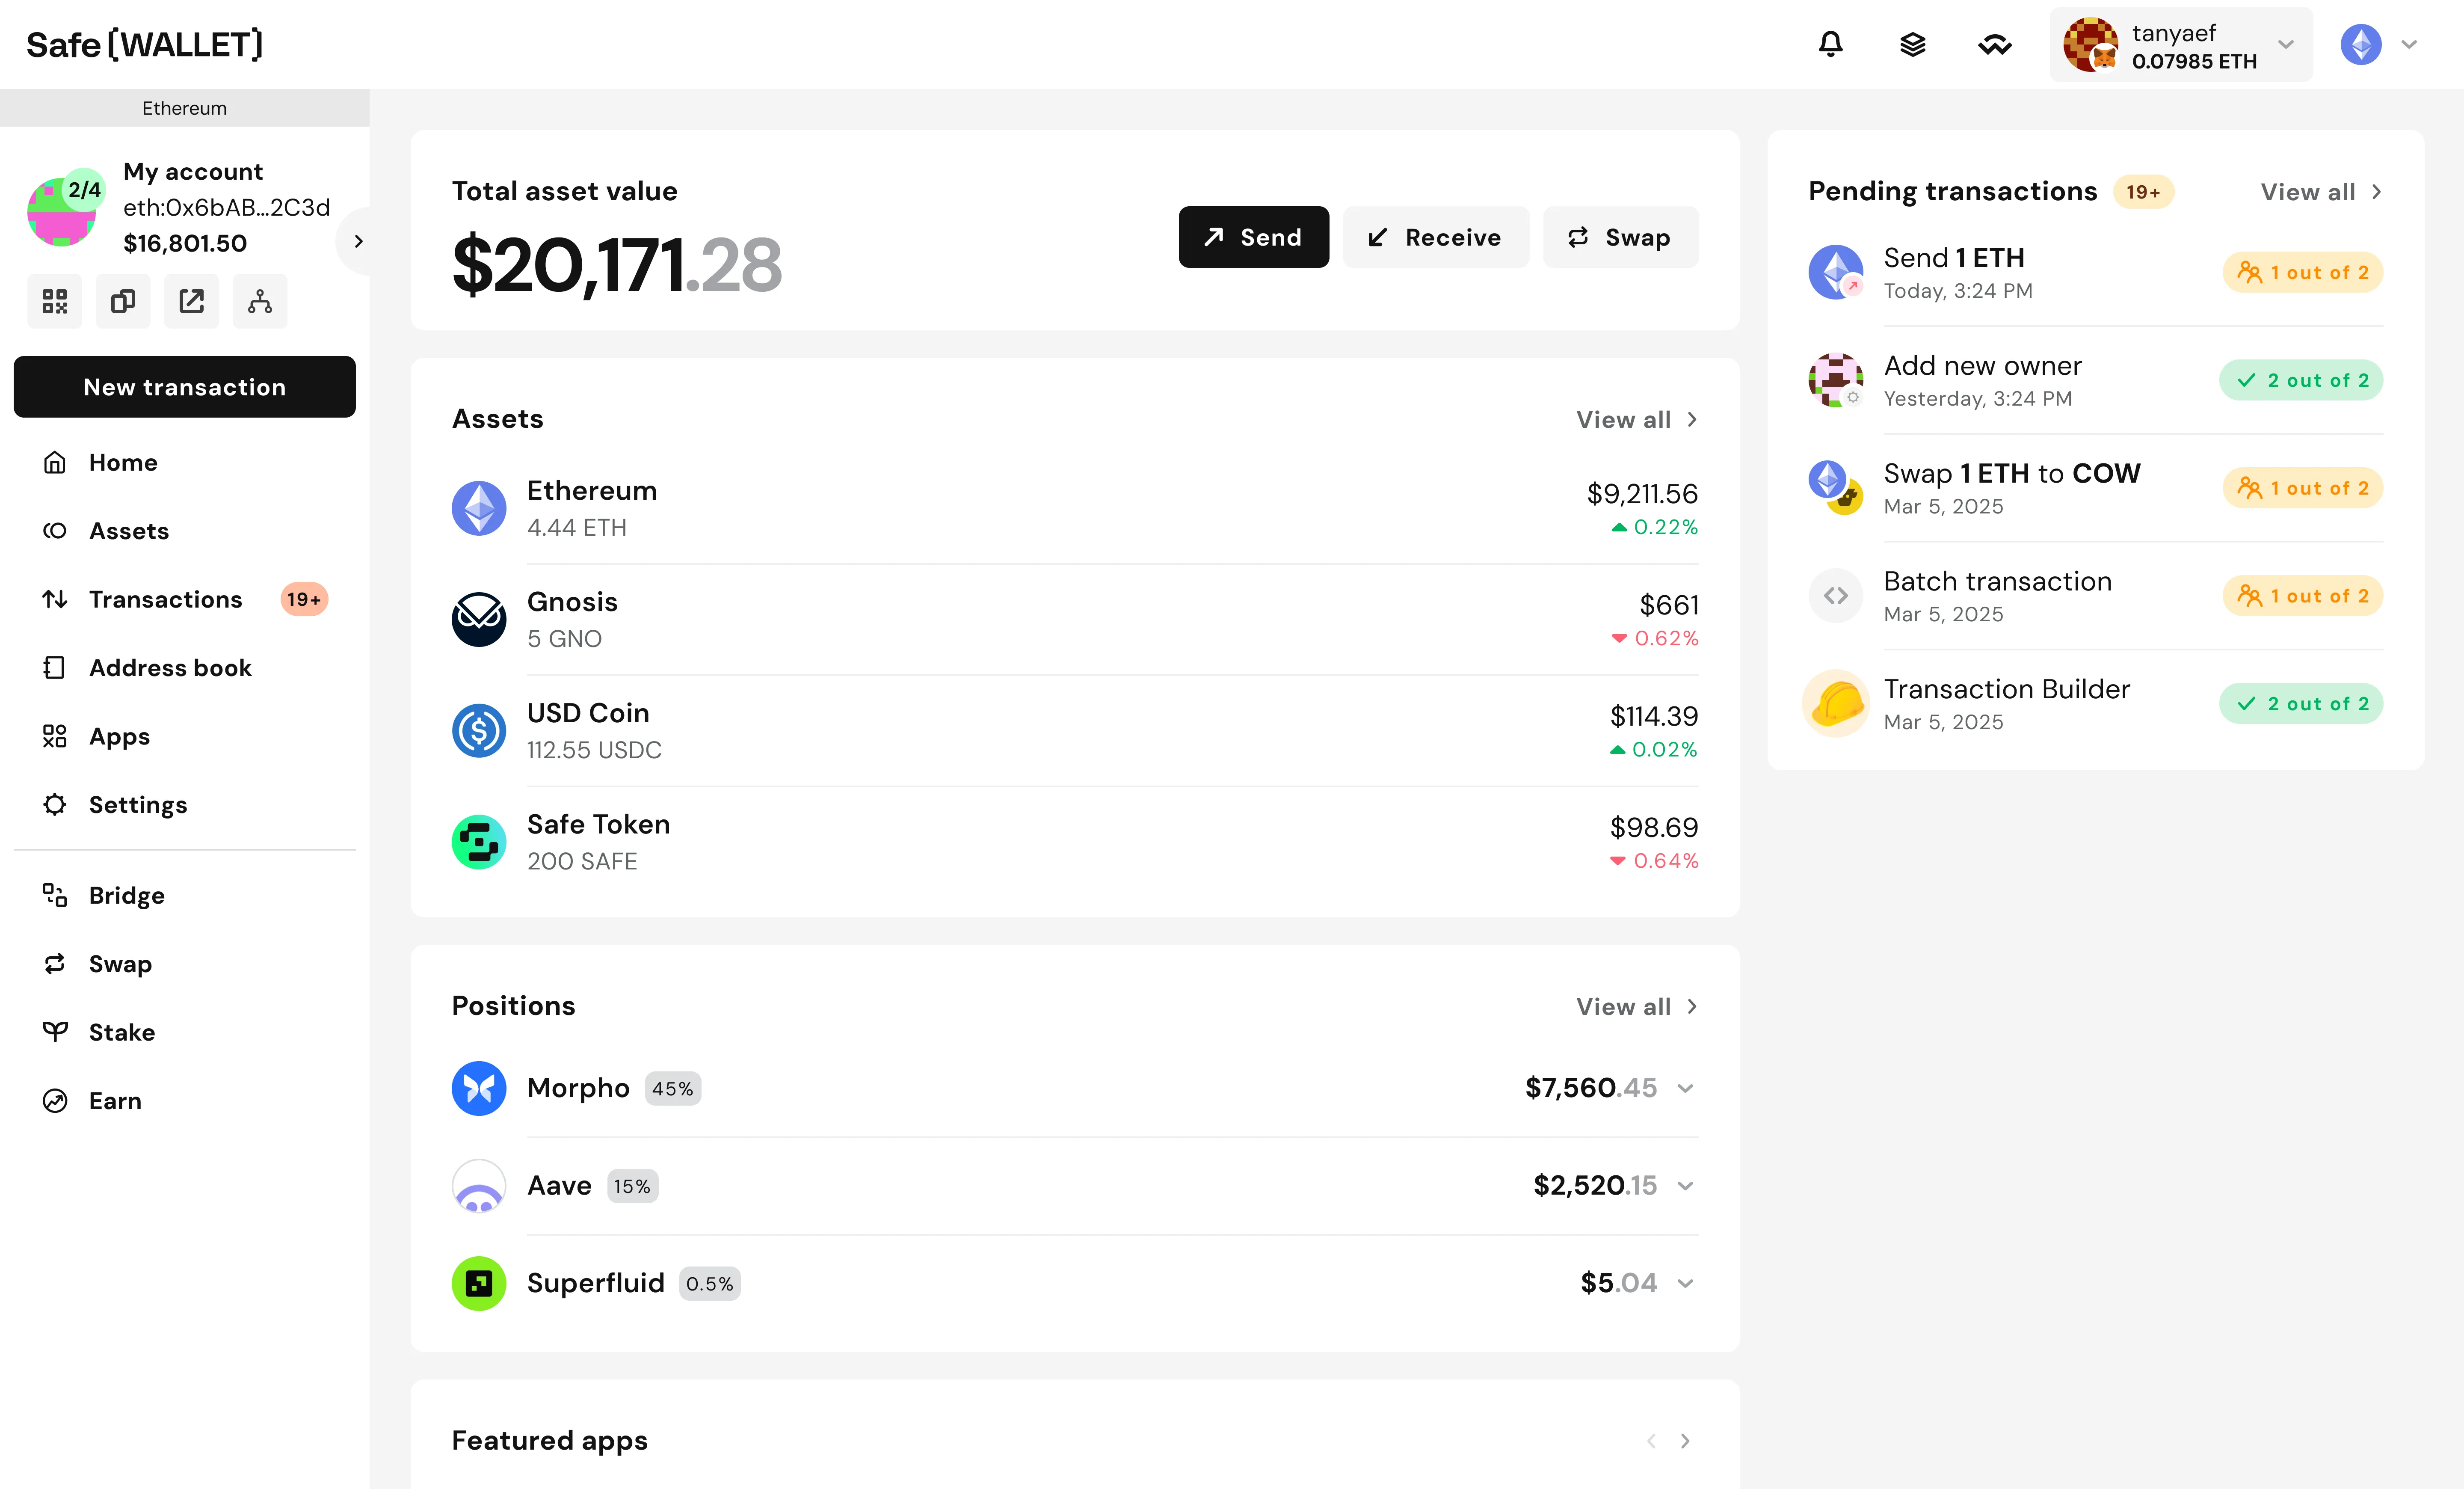
Invite team members to manage and track multi-chain Safe accounts together
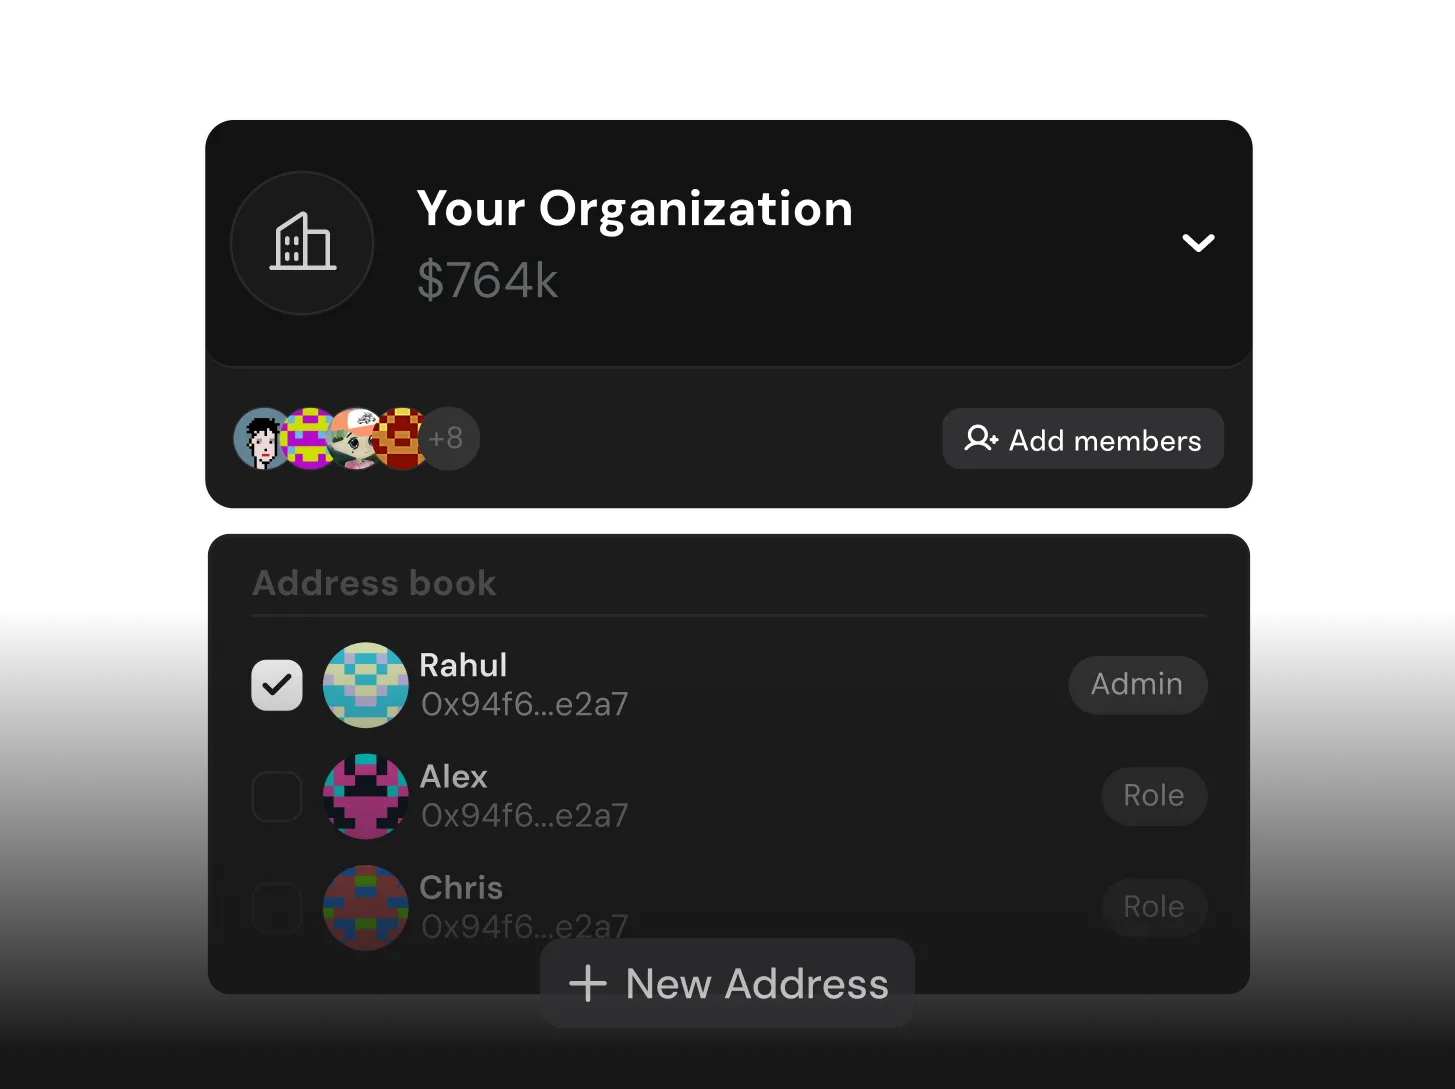
Cut gas costs by bundling complex transactions into one signing step
Defend against private key compromises and setup thresholds
Safe is among the most audited and battle-tested contracts on Ethereum.
No black box for your treasury. Independently verify all changes
Never loose access to your account by nominating a guardian
Safe, like Morpho, makes security its top priority. That's why we see strong alignment and confidence using Safe for Morpho's daily operations across multiple networks, making it a key building block of our operational stack.
Merlin Egalite, Co-Founder Morpho Labs


Dual booting Windows 11 and Android allows you to run a full Android environment natively on your PC hardware rather than through an emulator. This is typically achieved using x86-based Android distributions like PrimeOS , Bliss OS , or Android-x86 . Preparation and Partitioning Before starting, you must prepare your hard drive to hold two separate operating systems: Shrink Windows Partition : Use Disk Management in Windows 11 to "Shrink Volume" on your main drive (usually C:). Allocate at least 20GB to 50GB of unallocated space for Android. Create New Partition : Format this unallocated space as NTFS (some guides suggest leaving it unallocated for the installer to handle). Name it "Android" or "PrimeOS" so you can easily identify it during installation. Creating a Bootable USB You will need a USB flash drive (at least 8GB) to act as your installer: Download an Android ISO : Choose a distribution like the latest stable build of Bliss OS or PrimeOS . Flash the ISO : Use Rufus to write the ISO file to your USB drive. Set the partition scheme to GPT for modern Windows 11 UEFI systems. Installation Steps Boot from USB : Restart your PC and enter the Boot Menu (typically by pressing F12, F10, or ESC during startup) and select your USB drive. Choose Installation : Select the "Installation" option from the GRUB menu. Select Partition : Carefully choose the partition you created earlier. Do not select your Windows partition , as this will wipe your data. Format Partition : Format the selected partition to ext4 . Install GRUB : When prompted to install the GRUB bootloader , select Yes . This creates the menu that lets you choose between Windows and Android every time you turn on your computer. Important Considerations How to install Android alongside Windows 11/10 | Play Store
Dual-booting Windows 11 on a single device offers a powerful way to bridge mobile and desktop experiences , though the quality of the experience varies wildly depending on your hardware and choice of Android distribution. The Top Contenders For most users in 2026, the choice typically comes down to a few major operating systems designed for x86 hardware: Android TV
The Ultimate Guide to Dual Booting Windows 11 and Android (2026 Edition) Unleash the full potential of your PC by running two operating systems side-by-side. For decades, PC enthusiasts have dual-booted Windows and Linux. But in recent years, a new contender has emerged: Android . With over 3 billion active Android devices worldwide, the demand to run Android apps, games, and productivity tools natively on a desktop PC has skyrocketed. While Windows 11 offers native Android support via the Amazon Appstore (Windows Subsystem for Android), it is slow, limited, and lacks Google Play Services. The only way to get full , bare-metal performance—including Google Play, root access, and flawless app compatibility—is to dual boot a full Android x86 distribution alongside Windows 11. This 4,000+ word guide will walk you through everything: why you should do it, the risks, the exact step-by-step process, and how to fix common boot errors.
Part 1: Why Dual Boot Windows 11 and Android? Before we get our hands dirty, let’s examine the why . Why not just use an emulator like BlueStacks or LDPlayer? The Limitations of Emulators dual boot windows 11 and android
Performance Overhead: Emulators virtualize hardware, consuming 2-4GB of RAM and significant CPU cycles. No Bare-Metal Access: Direct GPU access for Vulkan/OpenGL is poor. Heavy games like Genshin Impact or Call of Duty: Mobile stutter. Bloated & Ad-Ridden: Most emulators bundle adware or limit installation speeds.
The Power of Dual Booting
Full Hardware Access: Android runs directly on your CPU, GPU, and storage. It performs as if you bought an Android laptop. Google Play Services: Full access to the Play Store, Google Drive, and Play Games. Root Access: You can run rooted apps, automate tasks, or modify system files. No Host Resource Drain: When running Android, Windows 11 is completely shut down. No RAM sharing. Dual booting Windows 11 and Android allows you
Best Use Cases
Mobile Gaming on a Big Screen: Play touch-based games using a mouse or touchscreen monitor. App Development: Test your APKs on bare metal without slow emulators. Kiosk or Media Centers: Convert an old PC into a dedicated Android TV-like device. Privacy: Use Android for banking or social media, isolated from your Windows environment.
Part 2: Prerequisites & Risks What You Need Allocate at least 20GB to 50GB of unallocated
A PC with UEFI BIOS (most PCs from 2012 onwards; Windows 11 requires it). At least 32GB of free storage (64GB recommended for Android + apps). A USB flash drive (8GB+) for the installer. Windows 11 already installed (we will preserve it). Android x86 ISO file (we recommend Bliss OS or Android-x86 9.0 ; avoid older versions like 4.4).
⚠️ Warning: The official Android-x86 project has slowed development. For modern PCs, use Bliss OS 15 (Android 12L) or PrimeOS . Both offer better Wi-Fi, sound, and GPU drivers for 2020-2025 hardware.